Learn Quick Setup For Mercusys Ax3000 Halo H80x Wifi 6 Mesh
In this modern age, Mercusys ax3000 halo h80x wifi 6 mesh is a complete unified networking system for your home. It delivers the highest networking speed and wider coverage. However, this networking device comes with multiple nodes and each node works as an access point.
Additionally, if you own such a networking device, then it is necessary to learn Mercusys ax3000 halo h80x wifi 6 mesh setup to operate it to its full potential. Further, if you seek assistance with the detailed setup procedure for this whole mesh system, then walk through this complete guide!
How to setup Mercusys Halo mesh wifi system for seamless connectivity?
Furthermore, setting up the Mercusys whole mesh wifi system is an easy task but before you head towards it, you must be ready with the given things. These are an active internet connection, valid admin details, web GUI/Mercusys application, Windows/smartphone, etc.
When you have all these things in hand, proceed with the detailed steps mentioned below to carry out the Mercusys ax3000 halo h80x wifi 6 mesh configuration. Let’s have a look:
Web GUI
- Firstly, link your Windows/laptop to the Mercusys router’s network.
- You can connect them directly to the wifi or use an ethernet cable.
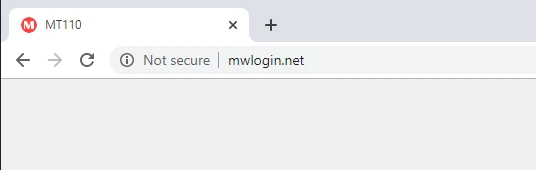
- Now, open the web browser and key in the http://mwlogin.net web address in the browser bar.
- After that, mention the admin username and password on the login window.
- If you don’t change them, then use the default admin details that are printed on the product label.
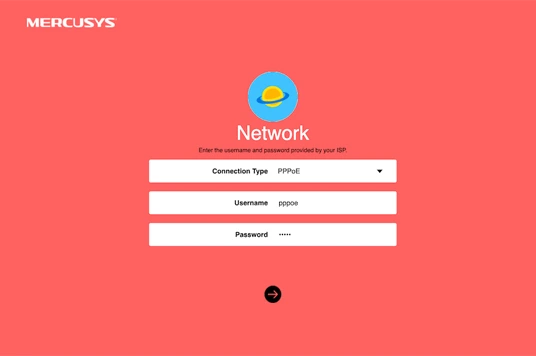
- After logging in, you are prompted to choose the Internet Connection Type first.
- If you need help, then you can contact your ISP authority to enter the required details for the selected connection type.
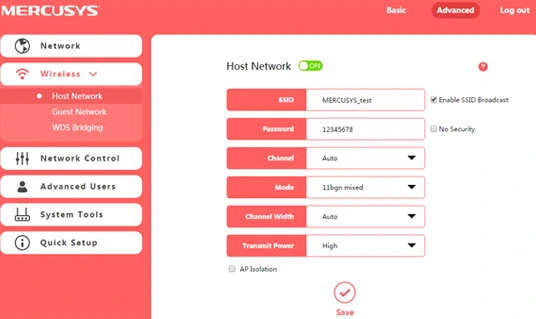
- Further, go to the WiFi/Wireless settings to change the SSID name and password for the Mercusys ax3000 halo h80x wifi 6 mesh network.
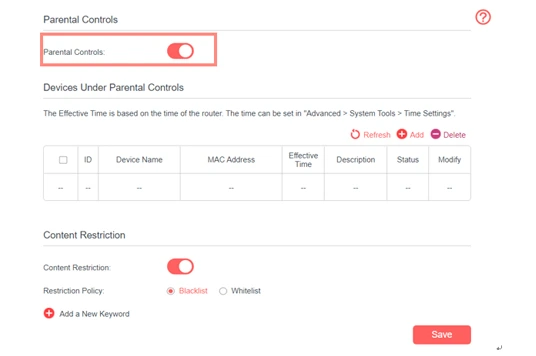
- Here, go ahead with the on-screen instructions to carry out the Advanced settings, like Guest Network, Parental Controls, Quality of Service, etc.
- Also, you can add the other mesh units by following the guidelines.
- At last, tap on Save to implement the recently modified settings.
Mercusys App
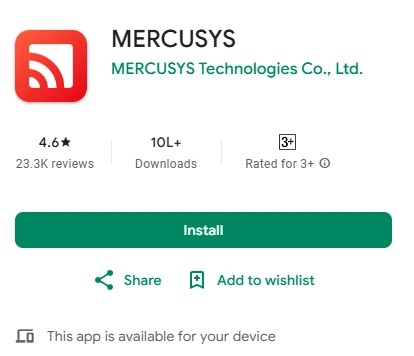
- To start with, ensure you have an updated version of the Mercusys application on your smartphone.
- Next, run the app and access the admin account using your Mercusys ID.
- After that, tap on Let’s Begin and go ahead with the on-screen instructions.
- Now, click on the “+” icon on the top right corner to add multiple mesh nodes.
- Further, check the Setup wizard for additional Mercusys ax3000 halo h80x wifi 6 mesh setup.
- Here, visit WiFi Settings to alter the network name and password to secure your network.
- Go to the Advanced settings and modify the further settings, like Port Forwarding, WPS, Parental Controls, etc.
- Finally, click on Save to execute the changes made on your networking device.
How to register for Mercusys cloud account?
Generally, Mercusys ID is the cloud account that you can create for logging into your mesh router’s web interface. Besides this, you can use the web address or the application to create a cloud account. In similar vein, we shed light on the detailed steps for creating the Mercusys ax3000 halo h80x wifi 6 mesh cloud account, have a look once:
- Initially, link your smartphone to the Mercusys router’s network.
- Next, install the Mercusys app on your smartphone.
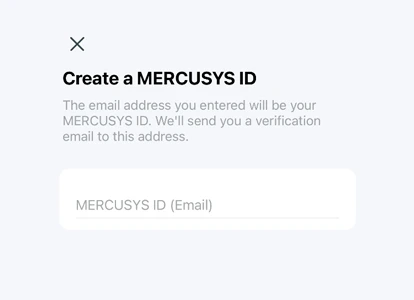
- After that, click on Sign Up, to begin with the Mercusys Cloud account setup.
- Hereon, mention the valid email address on the login window.
- Now, create a new password for the email you entered.
- Next, mark the check box to accept the Agree to MERCUSYS Privacy Policy & Terms of Use policies.
- Afterward, tap on Confirm and a verification link will be sent to the email address you recently mentioned.
- Here, open the mailbox and click on the “Activate & Login link>Click to Finish Registration” option.
- Again, access the web interface of the Mesh router using your Mercusys ID.
- Hereon, click on the Bind to merge your Mercusys router and the Mercusys cloud account.
- At last, you are done with the Mercusys cloud account setup.
In essence, you find deep insights regarding the Mercusys ax3000 halo h80x wifi 6 mesh configuration using different methods. Here, this guide assists you in exploring elaborative steps for setting up your whole mesh wifi system among Mercusys cloud account creation. Did you miss something? Let us know here!